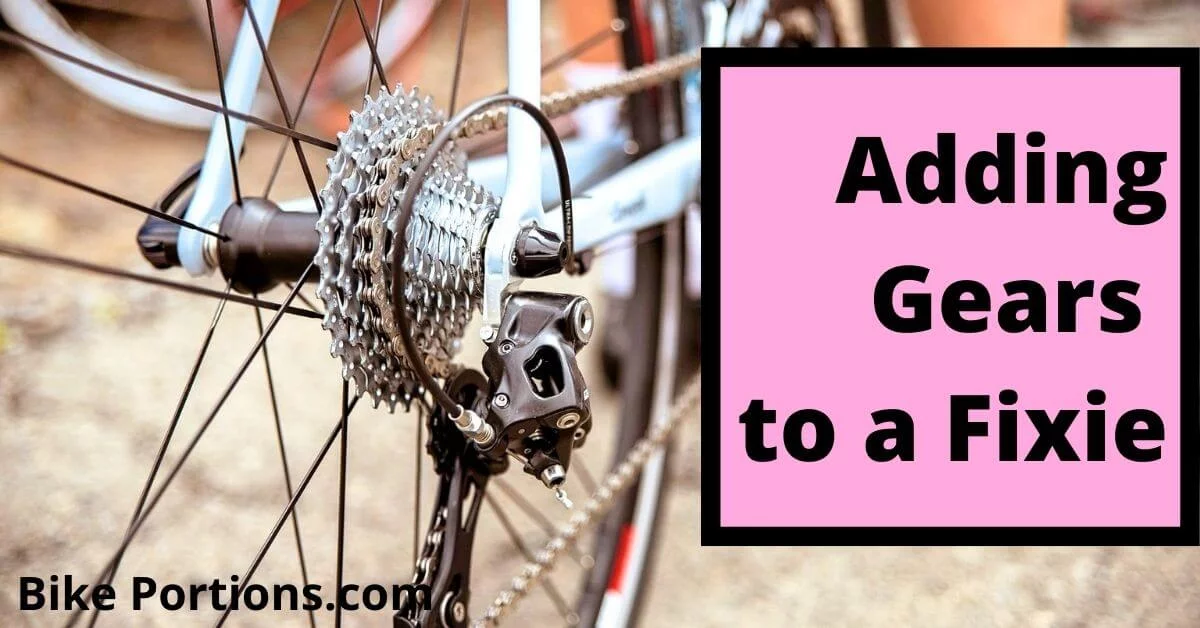
Adding Gears to a Fixie [An Ultimate Guide]
The world of bicycles is wildly expanding. But many riders are less than enthusiastic when it comes to adding gears to a fixie. It is important to understand the factors that go into the decision, and there are benefits and negatives for both. Fixies are great because you can watch all the gears turn – or not.
There are many reasons to convert single speed to a geared fixie. It’s not because the person wants a multi-speed bike, or because they want an existing transmission. It’s because they want to make riding their single-speed bicycle easier. A single-speed bicycle can be difficult to ride and can also put a lot of strain on your body. Riding a fixie is not only a matter of good balance and coordination. But it’s also a matter of aerobic conditioning.
In the event that you have a fixed-gear bike, or want to convert your old racer to a fixie. It is important to understand the function of gears. We will discuss the conversion process and the benefits of going from a fixed gear to a multi-speed bike.
Contents
Parts Needed To Add Gears to a Fixie?
Many riders use a fixie, a bike with no gears on the rear wheel. Upgrade to a single speed, bike with a single gear. but want a little more versatility on a hill. This increases a rider’s options and ability on a descent. If you want to add gears to your fixie, you’ll need a set of
- Brakes,
- Rear wheel,
- Crank arm, and
- Cog set.
- Small screwdriver or spanner
If you already have a freehub bike, you can have any desired gear. For a flip-flop fixie to have gears, the brake plate has to be converted into a gear shifter.
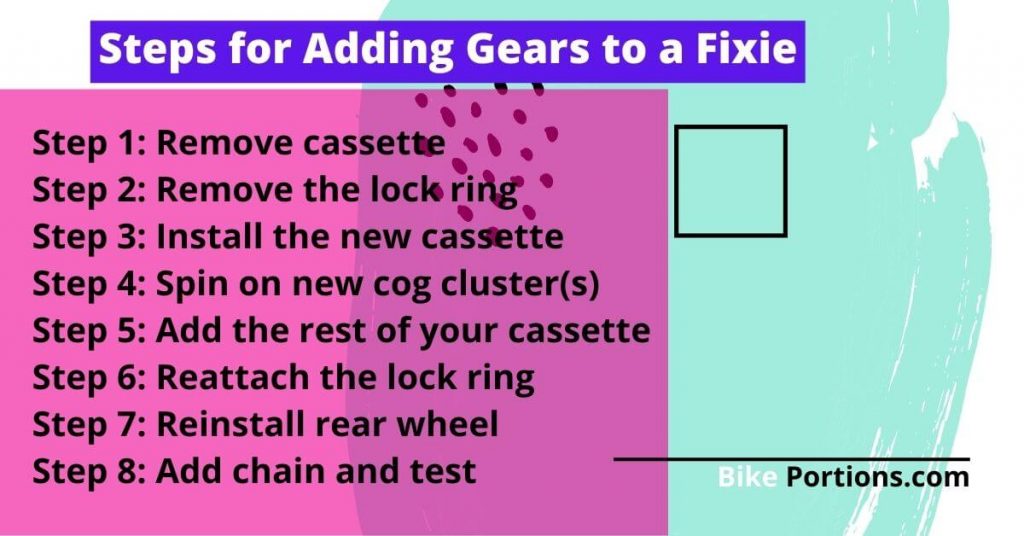
Steps for Adding Gears to a Fixie
The first thing to do is to inspect the freehub. It should have a small number of splines that correspond with the number of gears on your hub. If you don’t know how many gears are on there, just count them and write it down somewhere.
Also, note if your hub is a Shimano or SRAM freehub. Because they function differently and currently there is no article on this site that shows how to add gears to these types of hubs.
It should look like this:
If it looks like the one above, your hub has 9 splines which correspond with nine cogs on the cassette.
If it looks like the one above, your hub has 3 splines that correspond with three cogs on the cassette.
Step 1: Remove the cassette
The first step for adding gears to a fixie bike is to remove the old cogs from the freehub. To do this you should have a chain whip and lockring tool. You can purchase these for about $20 at your local bike shop. You can also purchase them online here.
If you don’t have a chain whip and lockring tool. You can remove the sprocket by placing a screwdriver through one of the holes. And twisting it counterclockwise until it pops off.
Once you have the old cassette removed, just set it aside.
Step 2: Remove the lock ring
The next step is to remove the lock ring that was holding your cassette together. This can be done using a large adjustable wrench. But if you do not have one. Simply place the sprocket on an anvil and hit it with a hammer until it pops off.
Step 3: Install the new cassette
This is where you need to decide if you’re going to use an SRAM or Shimano freehub.
If it’s an SRAM freehub, follow the instructions in Steps 4 through 6 below.
If it’s a Shimano freehub, skip Steps 4 through 6 below and follow Steps 7-8.
Step 4: Spin on new cog cluster(s)
Now that your cassette is all clean and lubed up, place the first cog of your cassette on the hub. And put a drop of chain lube on each of its grooves. Then spin it around until it threads onto the hub and tightens it down.
Pro Tip: Keep in mind that SRAM cassettes don’t come with the largest cog preinstalled on them, so you’ll have to remember which one is actually the largest and install it before adding the rest of your cassette. You can complete Steps 4 and 5 simultaneously when using a Shimano freehub.
Step 5: Add the rest of your cassette
The rest of your cassette will need to be added once Steps 4 and 5 have been completed. By adding cogs one at a time to the freehub, this can be accomplished. The last cog should have its teeth facing downward so that it meshes smoothly with the chain.
Pro Tip: Key Steps for Finishing up your cassette install are to make sure that each cog slides smoothly onto your freehub and meshes cleanly with your chain. If you find yourself having to use a lot of force or if there is not easy friction between these two. Then something isn’t right and you should repeat Steps 4 and 5.
Step 6: Reattach the lock ring
Once your cassette is all put back together, go ahead and reattach that lock ring. A standard screwdriver can be used to tighten it up.
Pro Tip: Make sure that your lock ring is nice and tight, as you don’t want it to come loose and your cog cluster to fall off while you riding!
Step 7: Reinstall the rear wheel
All you need to do now is tighten up the bolts on the rear wheel so they are nice and tight. You can do this with a set of Allen keys.
Step 8: Add chain and test
Once Steps 6 and 7 are all done, you’re ready to add the chain. To do this, simply stretch it around your largest cog and the rear wheel as shown in Steps 1 through 3 above.
Lastly, make sure everything’s all tight by giving it a quick once-over with an Allen wrench and then test it out! That’s it for convert single speed to a geared fixie.
Pro Tip: Steps 1 through 8 are the general Steps for Adding Gears to a Fixie. However, you can always check out your freehub manufacturer’s guidelines to see if they have something different to say about any of these steps. Different manufacturers have different standards, so always read their guidelines to ensure you’re installing your freehub the right way.
Related: Add Freewheel to Fixie
SRAM Steps for adding gears to a fixie
To install an SRAM cassette onto an SRAM freehub. First, take the cassette apart by removing one of the cog clusters. Then clean out the splines with an old toothbrush or rag to make sure you have all dirt and grime out of the spline.
Once this is done, your cassette cluster should look like this:
Place the cassette onto the freehub. Make sure that it’s correct by lining up the smallest cog with the number 9 on the hub.
Then place a drop of chain lube into each groove of one cog and spin the cassette in reverse until the lube seeps in between the cog.
Now take your largest sprocket which you should have cleaned off when you disassembled the cassette and put it back on the hub.
Then place a drop of chain lube into each groove of one cog and spin the cassette forwards until it makes contact with the largest cog.
Once this has been done, tighten your lock ring back up and you’re ready to go!
Shimano Steps for adding gears to a fixie
To install a Shimano cassette onto a Shimano freehub first, take the cassette apart by removing one of the cog clusters. Then clean out the splines with an old toothbrush or rag to make sure you have all dirt and grime out of the spline.
Once the cog cluster has been removed, it should look like this:
Then place a drop of chain lube into each groove on the sprocket you just disassembled and put it back on the hub.
You can now reattach your largest cog which is still attached to the cassette to the hub.
Once this is done, tighten your lock ring back up and you’re ready to go!
The Pros and Cons of Adding Gears to a Fixie
How much does it cost to put gears on a bike?
How much does it cost to turn a normal bicycle into a bicycle with gears? Costs can vary depending on the type of gear system and the level of customization. Online pricing ranges from $150 for a basic hub gear to $1,000 or more for a multi-speed crank setup.
Final thoughts
Everyone has heard the phrase ‘fixie’ at some point. However, not everyone understands what a fixie is or exactly why anyone would want to ride one. A fixie is an old-school type of bike that doesn’t have gears or brakes. We have covered the topic very well. Put your effort to get what you want to. On the contrary, adding gears to a fixie bike is actually very simple and straightforward. (Latest Updated).